
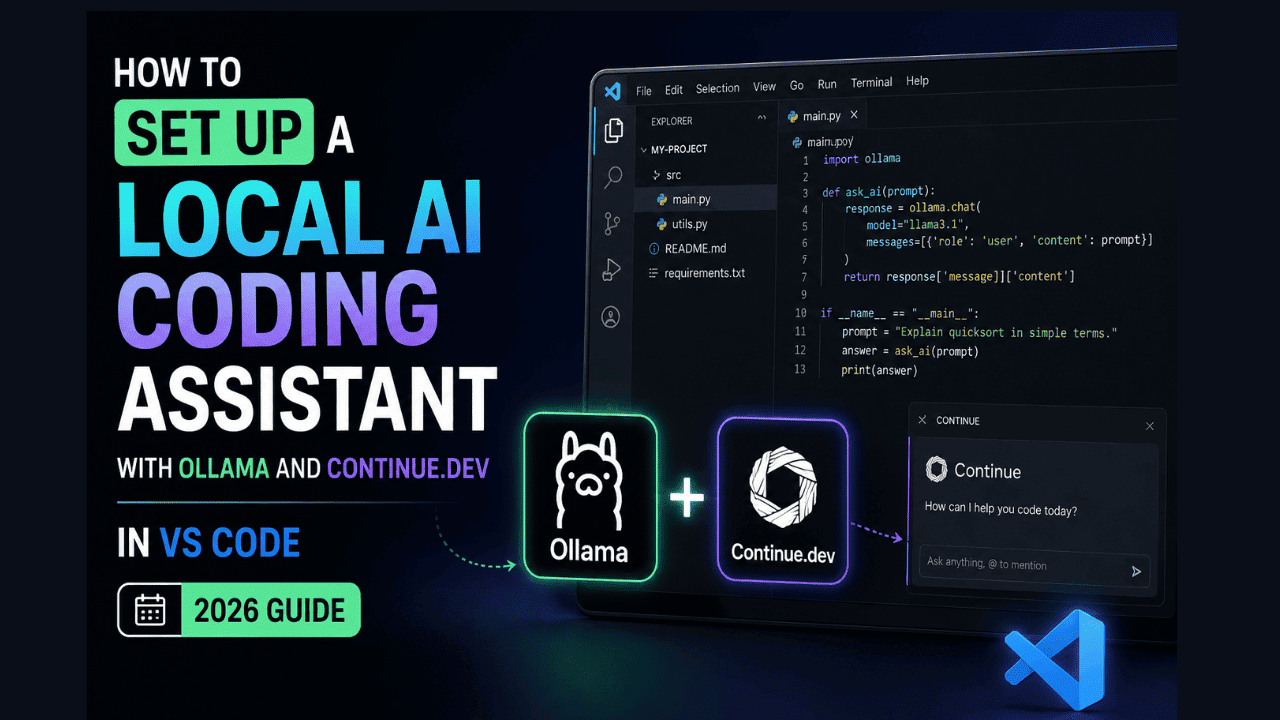
Imagine having a powerful AI pair programmer that never sends your code to the cloud, works completely offline, and costs nothing to run. With the mature ecosystem of local large language models (LLMs) and the right tools, this isn’t just a fantasy; it’s a reality in 2026. In this step-by-step guide, I’ll show you how to build a fully private, local AI coding assistant using Ollama and Continue.dev inside Visual Studio Code.
By the end, you’ll have an intelligent autocomplete, chat, and refactoring companion running 100% on your machine. No API keys, no data leaks, no subscription fees.
Why a Local AI Coding Assistant in 2026?
Cloud-based coding assistants like GitHub Copilot and ChatGPT have undeniable convenience, but they come with serious trade-offs: recurring costs, dependency on internet connectivity, and most critically your source code is processed on external servers. For many developers, especially those in finance, healthcare, or working on proprietary projects, that’s a dealbreaker.
Local LLMs have exploded in capability. Models like DeepSeek-Coder-V2, Code Llama 3, and Codestral can now rival cloud models in code understanding and generation, all while running on consumer GPUs. When paired with the right integration, you get a fast, privacy-respecting assistant that lives entirely within your editor.
What Are Ollama and Continue.dev?
Ollama is an open-source tool that lets you run LLMs locally with a single command. It handles model downloading, quantization, and provides a simple API—ideal for stitching into other tools.
Continue.dev is an open-source VS Code (and JetBrains) extension that connects your editor to any LLM—cloud or local. It’s designed to be model-agnostic, so you can plug in Ollama models for both chat and autocomplete with minimal configuration.
Together, they form the perfect stack for a local AI coding assistant.
Prerequisites
Before we start, make sure you have the following:
- Visual Studio Code installed (1.85 or later).
- Ollama installed and running.
- Download from ollama.ai (macOS, Linux, Windows).
- After installation, verify by running
ollama --versionin your terminal.
- At least one code-focused LLM pulled via Ollama. For the best balance of speed and quality, I recommend:
deepseek-coder-v2(strong overall)codestral(fast, specialized for code)codegemma(lightweight, good for smaller machines) Pull a model with:
ollama pull deepseek-coder-v2- A decent hardware setup: A modern CPU with 16GB+ RAM and an NVIDIA GPU (or AMD GPU with ROCm) will give you the best experience, but even CPU-only inference can work for smaller models. I’ll cover optimizations later.
Step 1: Install Continue.dev Extension in VS Code
Open VS Code, go to the Extensions view (Ctrl+Shift+X / Cmd+Shift+X), and search for Continue. Install the extension by Continue Development, Inc. (the open-source one). Once installed, you’ll see a new sidebar icon (the Continue logo).
After installation, you may need to reload VS Code.
Step 2: Configure Continue to Use Ollama
The magic happens in Continue’s configuration file. Open the VS Code Command Palette (Ctrl+Shift+P / Cmd+Shift+P) and run:
Continue: Open config fileThis opens ~/.continue/config.json (or config.ts if you use TypeScript). We’ll edit the JSON to connect to your locally running Ollama instance.
Replace or add the following inside the "models" array. Here’s a minimal setup that uses deepseek-coder-v2 for both chat and autocomplete:
{
  "models": [
    {
      "title": "DeepSeek-Coder-V2 (Local)",
      "provider": "ollama",
      "model": "deepseek-coder-v2",
      "apiBase": "http://localhost:11434"
    }
  ],
  "tabAutocompleteModel": {
    "title": "DeepSeek-Coder-V2 (Autocomplete)",
    "provider": "ollama",
    "model": "deepseek-coder-v2",
    "apiBase": "http://localhost:11434"
  },
  "allowAnonymousTelemetry": false
}
Explanation:
provider:"ollama"tells Continue to talk to Ollama’s REST API.apiBase: Default Ollama port is11434. Leave it as is unless you’ve changed it.tabAutocompleteModel: This enables inline code completions as you type, using the same model. You can use a smaller, faster model here if you prefer (e.g.,"codegemma").
Important: Save the config file (Ctrl+S). Continue will automatically reload the configuration.
Step 3: Start Ollama and Test the Connection
Make sure Ollama is running in the background. On most systems, it runs as a service after installation. You can test it by visiting http://localhost:11434 in your browser—you should see the message Ollama is running.
Now, inside VS Code, open the Continue sidebar (the chat panel). You should see the model “DeepSeek-Coder-V2 (Local)” listed at the top. Type a simple query like:
“Write a Python function to check if a string is a palindrome.”
If everything is working, the model will respond with code and an explanation, all generated locally.
Step 4: Using Autocomplete
With tabAutocompleteModel configured, inline completions will automatically appear as you type in any file. By default, they show up in a ghost text style, and you can press Tab to accept. If you find the suggestions too frequent or too slow, tweak the "tabAutocompleteOptions" in your config:
"tabAutocompleteOptions": {
  "maxTokens": 100,
  "delay": 400
}
delay is the milliseconds after you stop typing before the suggestion appears—increase it if you’re on a slower machine. maxTokens limits the length of completions, preventing overly long, slow responses.
Step 5: Advanced Configuration – Separate Models for Chat and Completion
For a more refined setup, you can assign a larger, more capable model for chat (where you need detailed explanations) and a smaller, snappier model for autocomplete. Here’s a recommended pairing:
{
  "models": [
    {
      "title": "Code-Llama-3 (Chat)",
      "provider": "ollama",
      "model": "codellama:13b",
      "apiBase": "http://localhost:11434"
    }
  ],
  "tabAutocompleteModel": {
    "title": "CodeGemma (Autocomplete)",
    "provider": "ollama",
    "model": "codegemma:2b",
    "apiBase": "http://localhost:11434"
  }
}
With codellama:13b for deep chat discussions and codegemma:2b for lightning-fast inline suggestions, you’ll get the best of both worlds. Experiment with models from the Ollama library to find your sweet spot.
Step 6: Optimizing Performance
Running LLMs locally can be resource-intensive. Here’s how to keep things snappy:
- GPU Acceleration: Ensure Ollama is using your GPU. On Linux/Windows with NVIDIA, it should auto-detect. For AMD (ROCm), install the ROCm version of Ollama and set
HSA_OVERRIDE_GFX_VERSIONif needed. - Quantized Models: Ollama automatically pulls the best quantized version for your hardware. For even lower memory use, manually pull a specific tag, e.g.,
ollama pull deepseek-coder-v2:1.5b-q4_0. - Context Length: In
config.json, limit the context window to reduce VRAM usage:
  "tabAutocompleteOptions": {
    "maxPromptTokens": 512
}- Dedicated GPU Server: If you have a powerful machine on your local network, run Ollama there and point
apiBaseto its IP. This lets you code on a light laptop while heavy lifting happens elsewhere.
Step 7: Going Beyond Code – Custom Slash Commands
Continue supports slash commands that let you perform actions like /edit, /comment, /test directly from the chat. You can even define custom commands. For example, create a command that asks the local model to explain a highlighted block of code in simple terms:
- Open the config file, add a
"customCommands"array:
   "customCommands": [
     {
       "name": "explain-plain",
       "prompt": "Explain the following code as if I'm a beginner, in simple terms:\n{{{ input }}}"
     }
]- In the chat, type
/explain-plainwhile you have code selected, and it will expand the prompt automatically.
This can dramatically speed up code review and learning, all done locally.
Troubleshooting Common Issues
“Model not found” error in Continue
Check that you’ve actually pulled the model with ollama list. Also, ensure the model field in config matches exactly (including tag if any, like deepseek-coder-v2:latest).
“Failed to connect to localhost:11434”
Ollama may not be running. Restart it with ollama serve (or check your system service). If you’re using WSL2 on Windows, make sure you’ve exposed the port correctly.
Autocomplete is too slow or laggy
Switch to a smaller model for tabAutocompleteModel, increase delay, or reduce maxPromptTokens. Also, confirm GPU acceleration is active by looking at GPU utilization while it’s generating.
Insufficient memory errors
Try a smaller quantization or a model with fewer parameters. codegemma:2b runs well even on 8GB RAM without a GPU.
Why This Setup Beats Cloud-Based Assistants
- Absolute Privacy: Your source code never leaves your machine. For proprietary or regulated codebases, this is non-negotiable.
- Zero Latency Offline: Work on a plane, in a remote area, or during an internet outage—your assistant is always available.
- No Subscription Costs: After the initial hardware outlay, everything is free and open source.
- Unlimited Customization: You can fine-tune, swap models, and even train on your own codebase without vendor lock-in.
Conclusion
In 2026, there’s no reason to compromise your privacy for AI-powered coding. With Ollama and Continue.dev, you can spin up a sophisticated, local AI coding assistant in less than 15 minutes. The models are smarter, the tooling is seamless, and the performance is better than ever.
Start with deepseek-coder-v2, experiment with different configurations, and enjoy a coding companion that’s truly your own. If you run into any snags, the vibrant communities of both projects are just a GitHub issue away.
Happy coding—offline and fully private.